How to Prepare the Exterior of a House for Painting
So, you’ve decided it’s time to give your house a fresh coat of paint and transform its curb appeal. When painting the exterior of your house, it is important to start with a clean and dry surface. Make any necessary repairs to the siding or trim before applying primer. Once the primer has dried, you can begin applying your chosen paint color. If you are looking for a rich and warm tone, consider using a cherry wood paint for a classic look.
Remember to apply at least two coats of paint for optimal coverage and protection against the elements. Don’t forget to clean your brushes and rollers thoroughly after use to ensure they last for future projects. In this guide, we’ll take you through how to prepare the exterior of a house for painting, from cleaning and repairing to priming and choosing the right paint. Let’s dive in!
Clean the Exterior Surface Thoroughly
Before you start painting, it’s essential to have a clean canvas. Use a power washer or a hose with a scrub brush attachment to remove dirt, dust, and grime from the exterior walls. Pay special attention to areas with mold or mildew, as these can affect the paint’s adhesion. Allow the surface to dry completely before moving on to the next step.
Inspect and Repair Any Damage
Carefully inspect the exterior for any cracks, holes, or damaged areas. Fill these imperfections with a high-quality exterior filler and allow it to dry. Sand down rough spots until the surface is smooth and even. Properly addressing these issues ensures that the paint will adhere evenly and provide a seamless finish.
Remove Loose or Flaking Paint
Using a scraper, remove any loose or flaking paint from the surface. This step is crucial to prevent the new paint from peeling or chipping prematurely. Sand the edges of the remaining paint to create a smooth transition between the old and new layers.
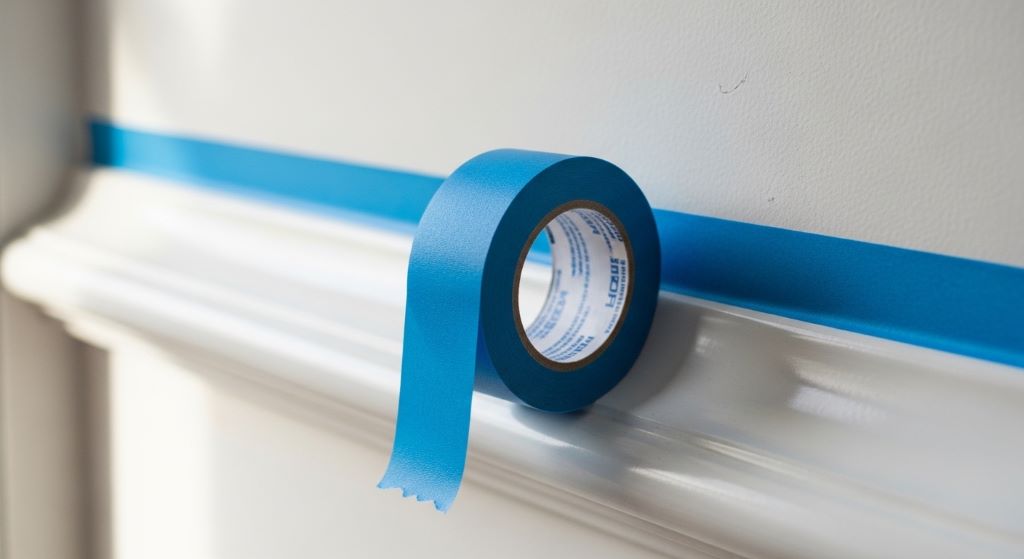
Protect Surrounding Areas
Cover windows, doors, trim, and any other areas you don’t want to paint with painter’s tape and plastic sheets. This extra step will save you from the hassle of cleaning up accidental splatters later on.
Prime the Surface
Priming is essential, especially if you’re painting over a porous or stained surface. Apply a coat of high-quality exterior primer to ensure better paint adhesion and color accuracy. Allow the primer to dry according to the manufacturer’s instructions.
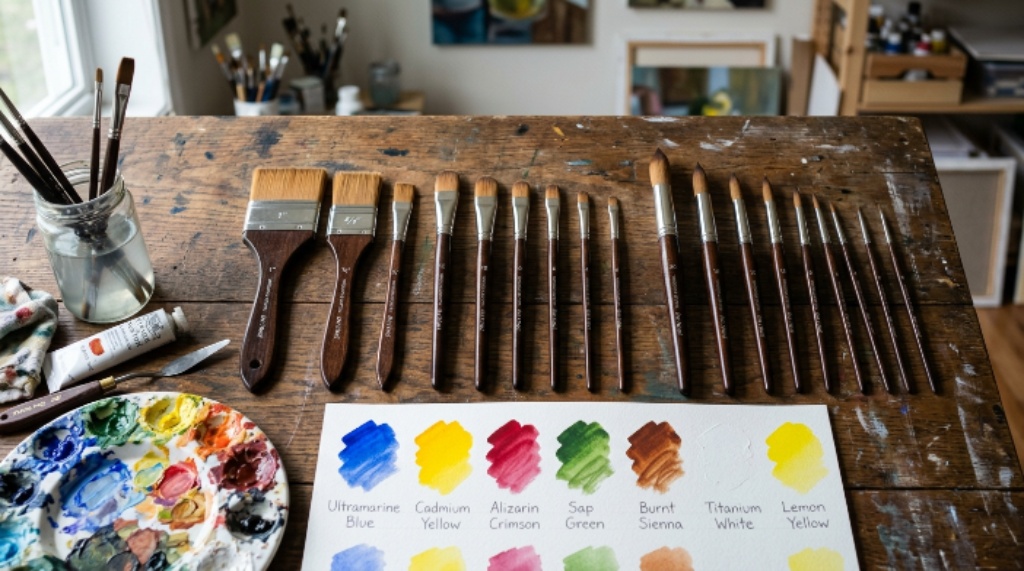
Choose the Right Exterior Paint
Selecting the right paint can make a significant difference in the longevity and appearance of your paint job. Opt for a high-quality exterior paint that’s specifically formulated for the surface you’re working on, whether it’s wood, stucco, brick, or siding. Consider the climate in your area when choosing the paint finish – flat, satin, semi-gloss, or gloss.
Test Paint Colors
Before committing to a color, it’s a good idea to test a small area with your chosen paint. Paint a patch on an inconspicuous part of the exterior and observe how it looks in different lighting conditions. This can help you make sure you’re happy with your color choice before covering the entire house.
Start Painting from the Top
When you’re ready to paint, start from the top and work your way down. This prevents paint from dripping onto freshly painted areas. Use even, overlapping strokes and maintain a consistent amount of paint on the brush or roller.
Allow Proper Drying Time
Follow the paint manufacturer’s instructions for drying times between coats. Applying the second coat too soon can lead to uneven coverage and a less professional finish. Be patient and give each coat ample time to dry.
Clean Up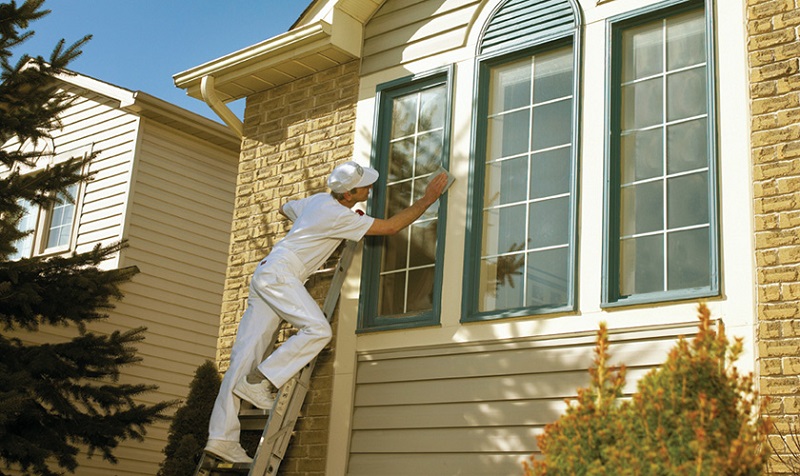
Once you’ve completed the painting, carefully remove the painter’s tape and plastic sheets while the paint is still slightly wet. This prevents any unwanted peeling of the new paint.
In conclusion, preparing the exterior of your house for painting is a process that requires attention to detail and careful execution. By following these steps, you’ll ensure a smooth, even, and long-lasting paint job that enhances your home’s curb appeal and protection. Remember, proper preparation is the key to a successful painting project.
FAQs
Q1: How often should I paint the exterior of my house?
A: The frequency of painting depends on factors such as climate, quality of previous paint jobs, and the type of paint used. Generally, every 5-10 years is a good guideline.
Q2: Can I paint over old paint without priming?
A: While it’s possible, priming is recommended for better adhesion, coverage, and color accuracy.
Q3: What’s the best time of year to paint the exterior?
A: Spring and fall are ideal, as the weather is moderate and paint dries more consistently.
Q4: Can I use interior paint for the exterior?
A: No, interior paint isn’t formulated to withstand the elements and won’t provide the necessary protection.
Q5: Should I hire a professional or paint the exterior myself?
A: It depends on your skill level and the complexity of the project. Professionals can ensure a flawless finish, but painting yourself can be rewarding if you’re willing to put in the effort.